Task Manager Not Task Manager Not Showing Gpu – Reasons & Unlocking SolutionsGpu
Imagine getting a new graphics card for your gaming computer, installing it carefully, and excitedly starting your favorite game for stunning visuals. However, it’s mysteriously missing when you check the task manager to see how well the new GPU is doing.
To fix this, update GPU drivers, check BIOS settings, repair corrupted system files, disable power saving mode, check for hardware-related errors, and make sure proper installation of GPU.
Join us as we explore troubleshooting tips to uncover why your task manager isn’t displaying your powerful graphics card.
Common Reasons Task Manager Doesn’t Display Gpu:
1. Outdated GPU Drivers:
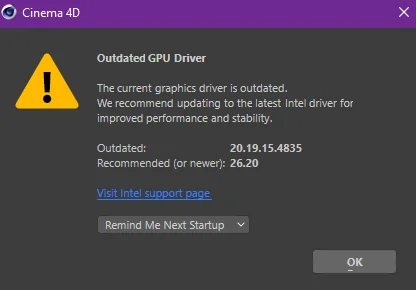
Compatible GPU drivers can frequently be the cause when your Task Manager fails to show the GPU. When new games or software are launched, they typically demand updated drivers for optimal performance.
Neglecting to stay current with these updates can lead to compatibility problems and functionalities incorrectly identified by your Task Manager.
2. Improper Bios Settings:
If your Task Manager isn’t showing your GPU, one reason could be messed-up settings in the computer’s startup instructions, called the BIOS.
The BIOS ensures all your computer’s parts work together when it starts. If the settings in the BIOS are wrong, your computer might not recognize or show the GPU in the Task Manager.
This could happen if the option for the graphics card is turned off or set to a different mode in the BIOS settings.
3. Corrupted System Files:
When important system files become damaged or missing, it can disrupt various functions of your computer, including the visibility of your GPU in Task Manager. Several factors, such as malware infections, improper shutdowns, or failed software installations, can cause this.
4. Hardware Issue:
When your Task Manager fails to display the GPU, it could point to a straightforward hardware glitch. It could be that the GPU isn’t plugged in properly to the central part of the computer (the motherboard), or there might be an issue with the graphics card itself.
In these situations, inspecting all the connections is crucial, making sure everything is snug and working like it should.
5. Improper GPU Installation:
It’s crucial to ensure the graphics card is securely seated in its slot on the motherboard. An inadequately seated GPU might result in poor connections, causing the Task Manager to be unable to recognize the hardware correctly.
6. Acceleration Settings Disabled:
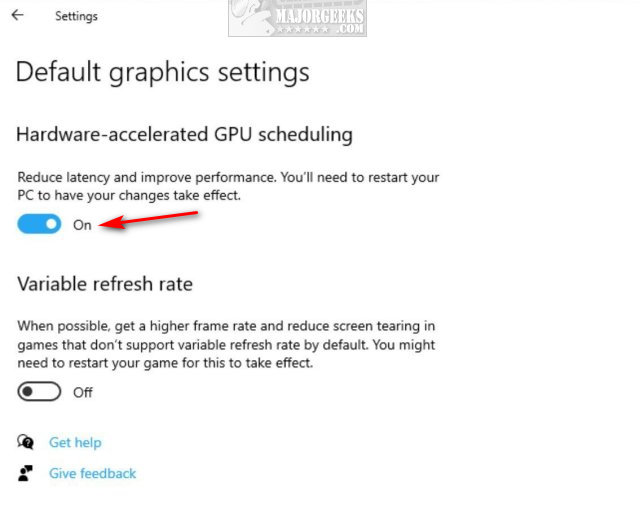
This can happen when specific applications or software accidentally or intentionally disable GPU acceleration for various reasons. When this occurs, the Task Manager won’t detect the GPU as it relies on this feature to gather relevant information.
7. Outdated Window:
Upgrading to a more recent Windows version is essential, as it often incorporates improved compatibility features, enabling the Task Manager to showcase GPU details seamlessly. Keeping your operating system current addresses the GPU visibility issue and enhances overall system performance and security.
8. Software Conflicts:
A system glitch or conflict with other software may be causing the issue. Sometimes, a simple reboot can solve the problem. Still, if that doesn’t work, you may need to dig deeper into your system settings or perform troubleshooting steps like running diagnostic tools or checking for conflicting applications.
Unlocking Solutions: Task Manager Not Displaying GPU – Troubleshooting Guide:
1. Disable Power Saving Mode:
Power saving mode can restrict specific hardware from being displayed to conserve energy. To disable this feature, go into your computer’s settings and locate the power options. From there, you can adjust the settings to ensure your GPU is not hidden.
2. Update GPU Drivers:
Follow these steps:
- Visit the official GPU manufacturer’s website.
- Download the latest compatible driver for your operating system.
- Use dedicated software (AMD Radeon Software or NVIDIA GeForce Experience) for automatic installation.
- For manual control, visit manufacturer websites to search and download the right driver.
Verification:
- After updating, restart your computer.
- Open Task Manager to ensure correct GPU detection.
3. Update Bios Settings:
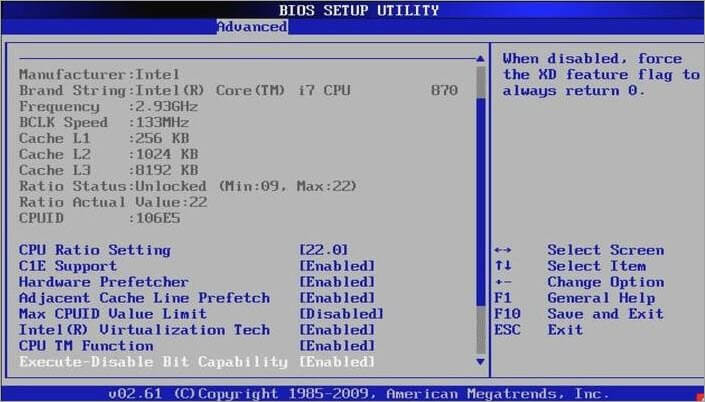
Updating the BIOS settings ensures that your system recognizes and utilizes the GPU properly.
- Identify motherboard manufacturer and model.
- Visit the official website and navigate to the support section.
- Check for updates specific to your motherboard model.
- Download the latest BIOS version.
- Thoroughly review the instructions provided by the manufacturer.
- Follow step-by-step guidelines for a successful BIOS update.
4. Repair Corrupted System Files:
To repair these corrupted files, you can utilize Windows’s built-in System File Checker (SFC) tool. Open a command prompt with administrative privileges and type sfc /scannow, which will initiate a scan of all protected system files and replace any corrupt ones.
5. Look For Hardware Issues:
Ensure that everything hardware-related is working fine. Start by checking if all the connections are properly set up and if nothing has come loose over time. Sometimes, a loose cable or connector can cause such issues.
6. Proper Gpu Installation:
To ensure proper installation, check if the GPU is securely seated in its slot on the motherboard. Sometimes, the card may become slightly loose due to disconnections or vibrations and disrupt communication between the GPU and task manager. Adjusting its position or reseating it firmly can often solve this problem.
7. Enable Acceleration Settings:
Follow the steps:
- Confirm that GPU acceleration is activated in your system settings.
- Access the graphics control panel (NVIDIA Control Panel or AMD Catalyst Control Center).
- Verify that the GPU is designated as the primary device for handling graphics processing.
8. Verify Task Manager Settings:
One practical troubleshooting step is to verify your Task Manager settings, as they may have been accidentally altered or misconfigured.
- Open Task Manager by right-clicking on the taskbar
- Select Task Manager from the menu
- Go to the Options tab
- Ensure “Always On Top” is selected to prevent GPU information from being hidden
- Check “Show 3D App History” and “Show Disk Activity” under the View tab.
9. Restart Graphics Services:
At times, Task Manager display issues can be addressed by restarting the graphics services. Press Win + X, then choose “Device Manager.” Find your GPU in the “Display adapters” section, right-click, and select “Disable.” After a brief pause, right-click again and opt for “Enable.”
10. Update System Window:
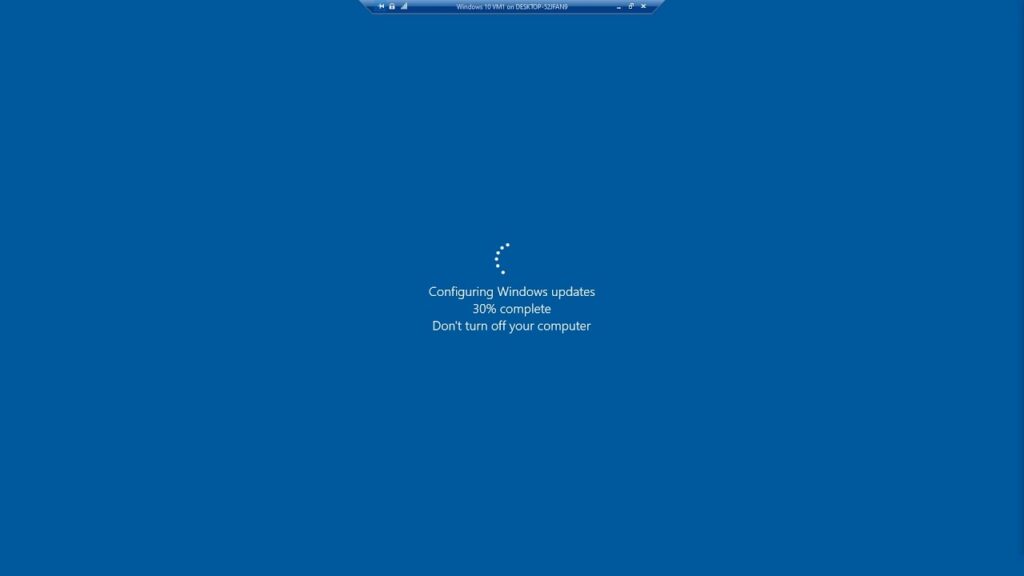
To update your system window, follow these simple steps:
- Open the Settings menu by clicking the Start button and selecting the gear icon.
- In the Settings menu, click on Update & Security.
- Select Windows Update from the left-hand side panel.
- Click on Check for Updates to search for available updates for your system window.
11. Look For Software Conflicts:
To identify such conflicts, users can start by closing any unnecessary programs running in the background. They should also check for any recent installations or updates that might have introduced conflicting software.
Additionally, updating drivers related to the graphics card and ensuring compatibility with other installed software can help resolve conflicts and restore the visibility of GPU information in the task manager.
Conclusion:
In conclusion, there are several reasons why your task manager may not be showing the GPU. Outdated GPU drivers, improper BIOS settings, corrupted system files, hardware issues, improper GPU installation, disabled acceleration settings, and outdated Windows can all contribute to this problem.
It is essential to ensure that your drivers are up to date and that your BIOS settings are properly configured. Additionally, checking for any corrupted system files and ensuring proper installation of the GPU can also help resolve this issue.
Lastly, ensure that acceleration settings are enabled, and your Windows operating system is updated. By addressing these potential causes, you can effectively troubleshoot and fix the problem of the task manager not showing the GPU.
Frequently Asked Questions:
1. Can I Use Third-Party Software To Check If My GPU is Working Properly?
Yes, several third-party software programs available can provide detailed information about your system hardware, including your GPU status.
2. Is There A Chance That Task Manager Itself Has A Bug Causing This Issue?
While unlikely, Task Manager can have bugs causing issues like this. If all else fails, consider using alternative monitoring tools or contacting Microsoft support for assistance with Task Manager.
3. Can Third-Party Applications Cause Task Manager To Not Show GPU Details?
Yes, third-party applications, especially those related to graphics or system monitoring, can interfere with Task Manager. Temporarily disable or uninstall such applications to identify and resolve the issue.
4. Does Task Manager Not Showing GPU Details Affect Gaming Performance?
In most cases, Task Manager display issues do not directly impact gaming performance. However, resolving the problem ensures accurate monitoring and allows you to troubleshoot potential performance issues more effectively.
5. Is It Possible To Roll Back Graphics Driver Updates If They Cause Issues With Task Manager?
Yes, in most cases, you can roll back to a previous version of the graphics driver. Open Device Manager, right-click on your GPU, select “Properties,” go to the “Driver” tab, and choose “Roll Back Driver” if the option is available.